In this chapter, you’ll learn how to update your node name so that it becomes visible on the Metal Blockchain Explorer and wallets.
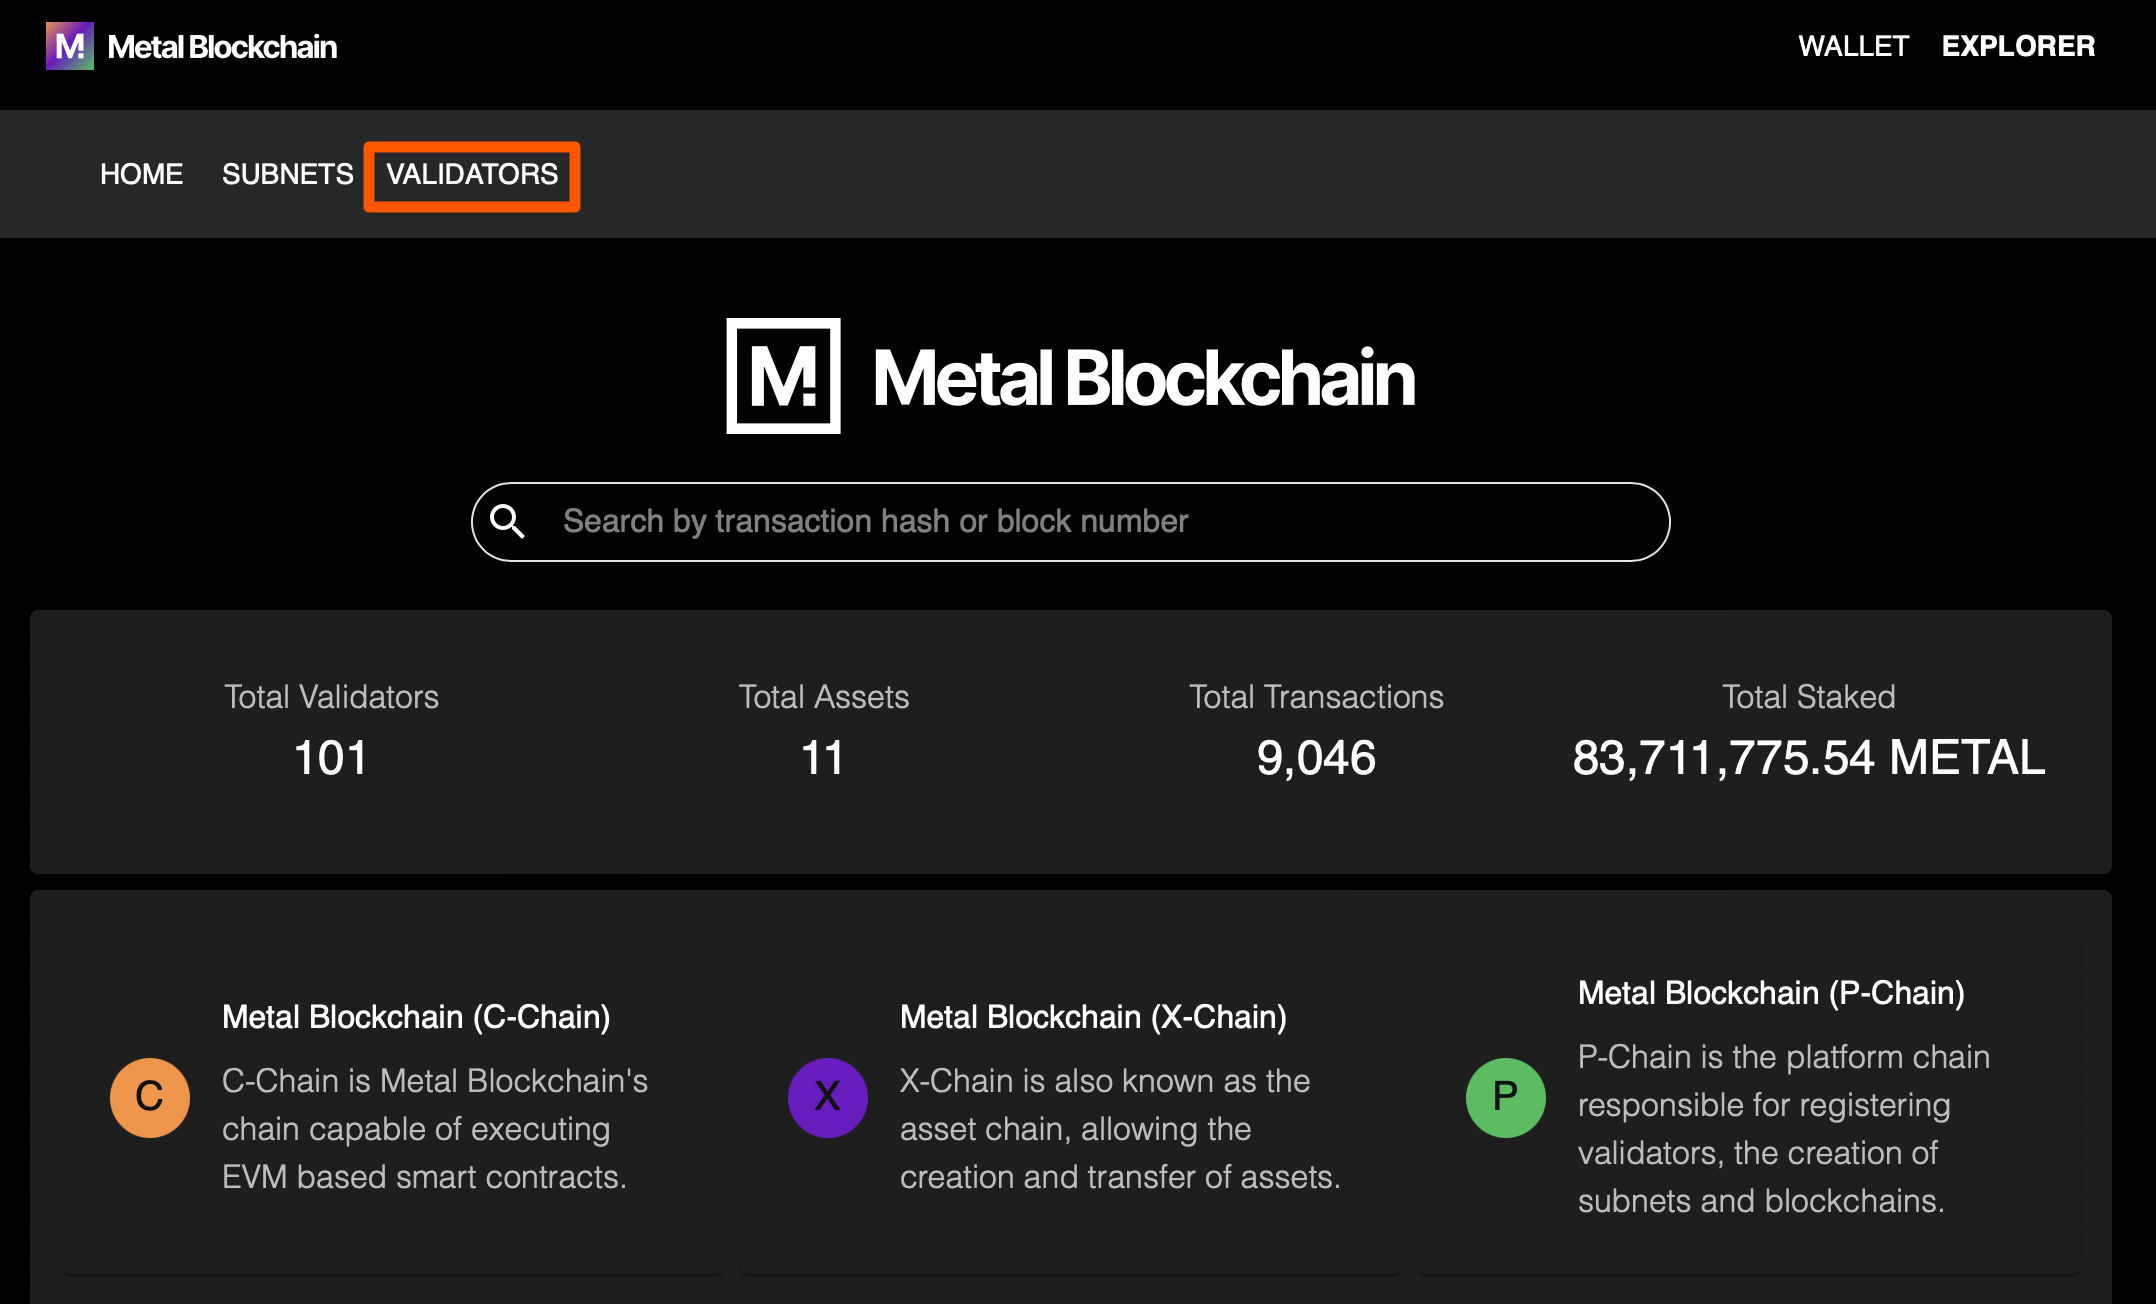
Step 1: Explore the validator’s page on the block explorer by clicking here.
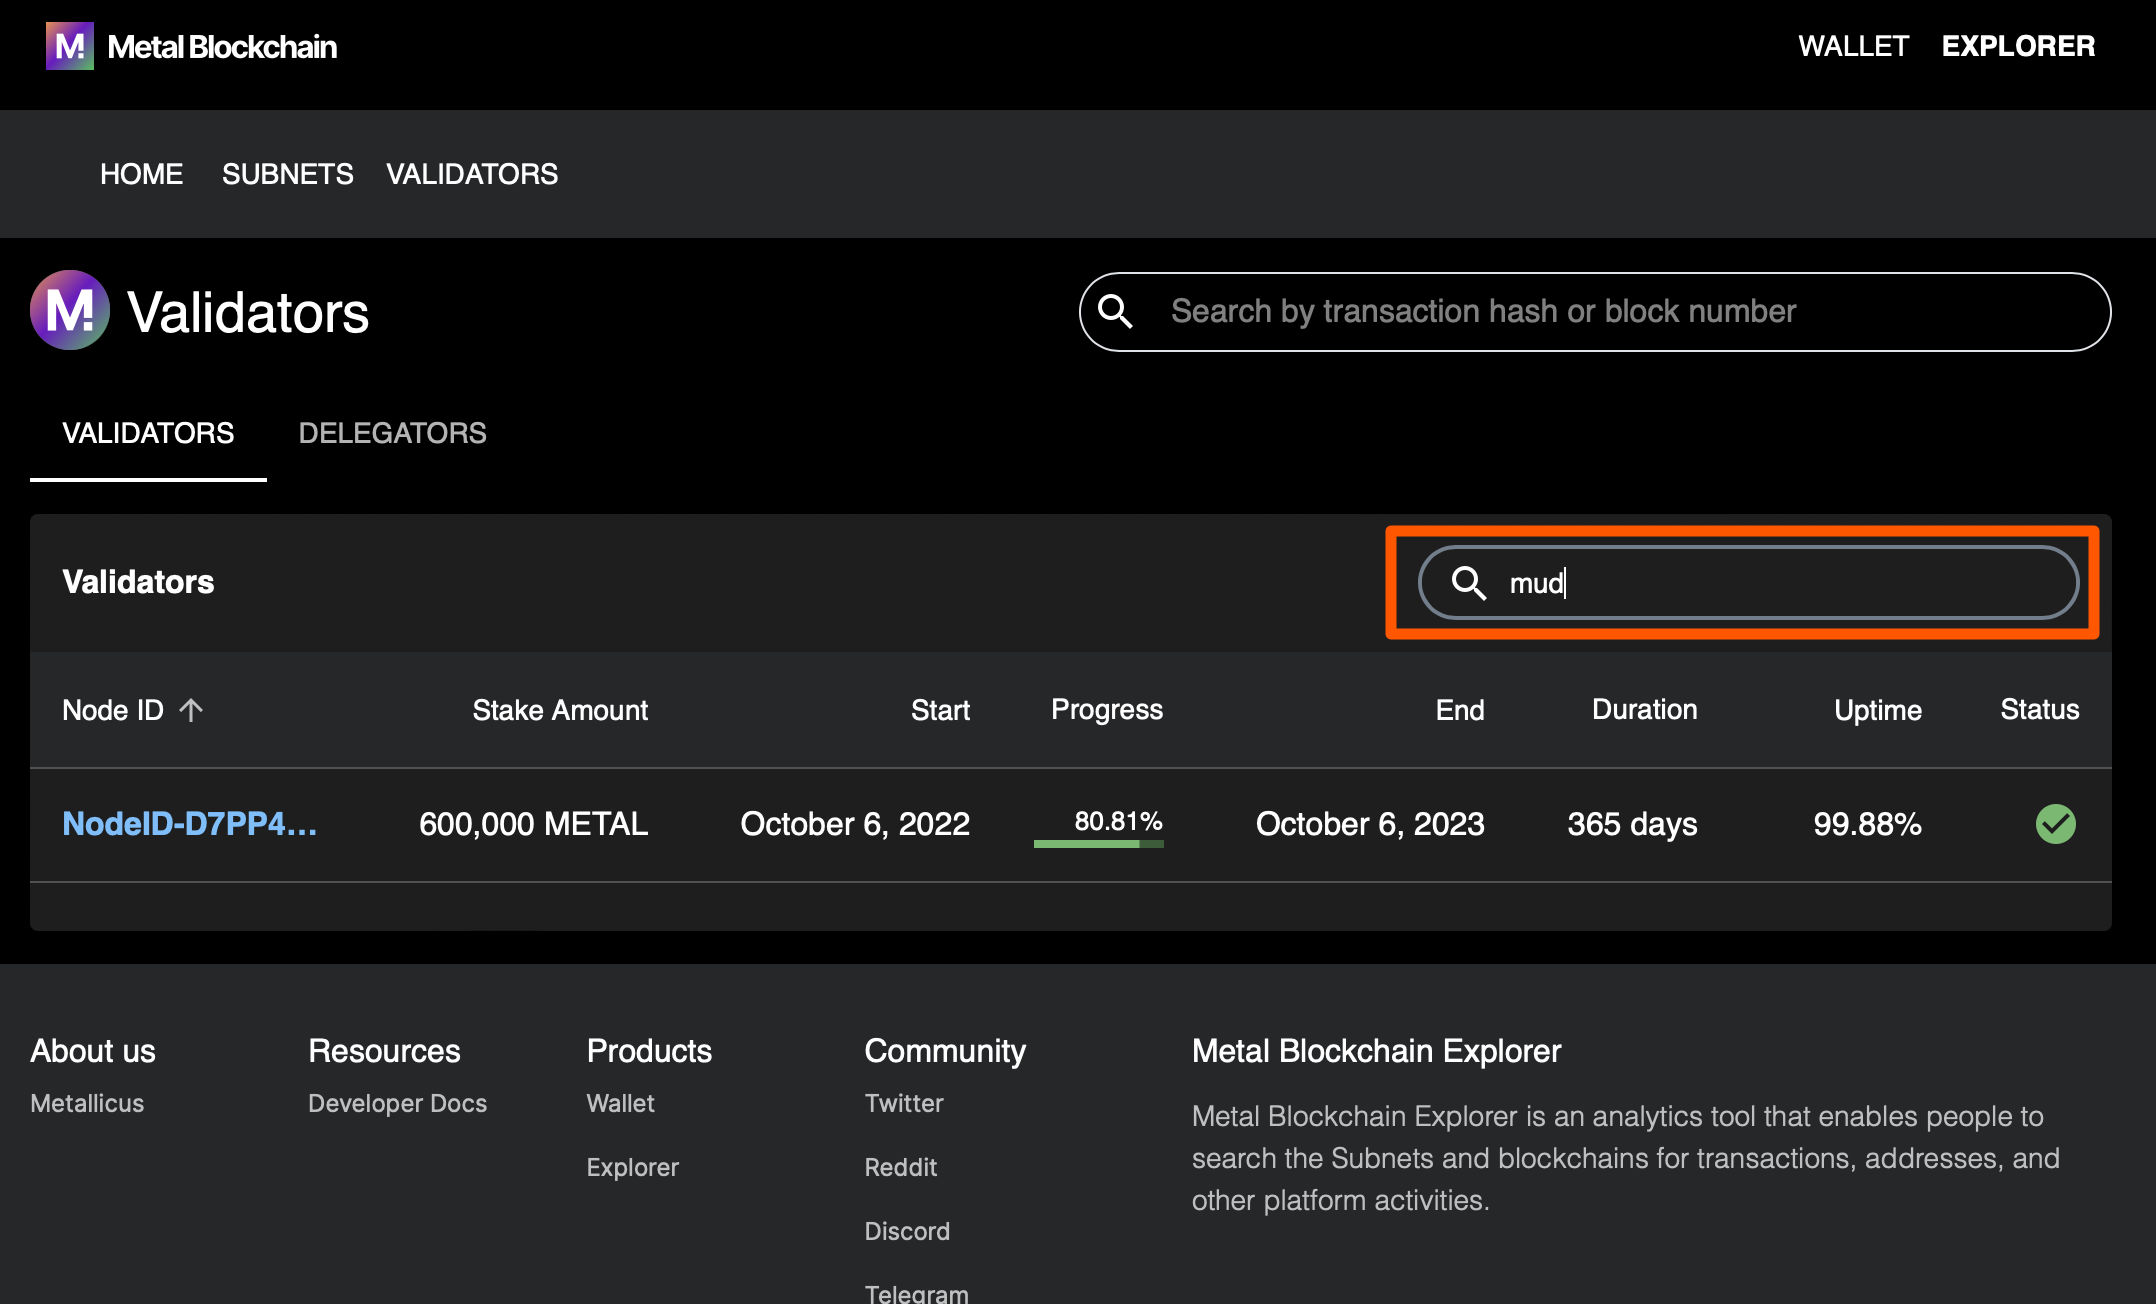
Step 2: Enter your Node-ID in the search bar.
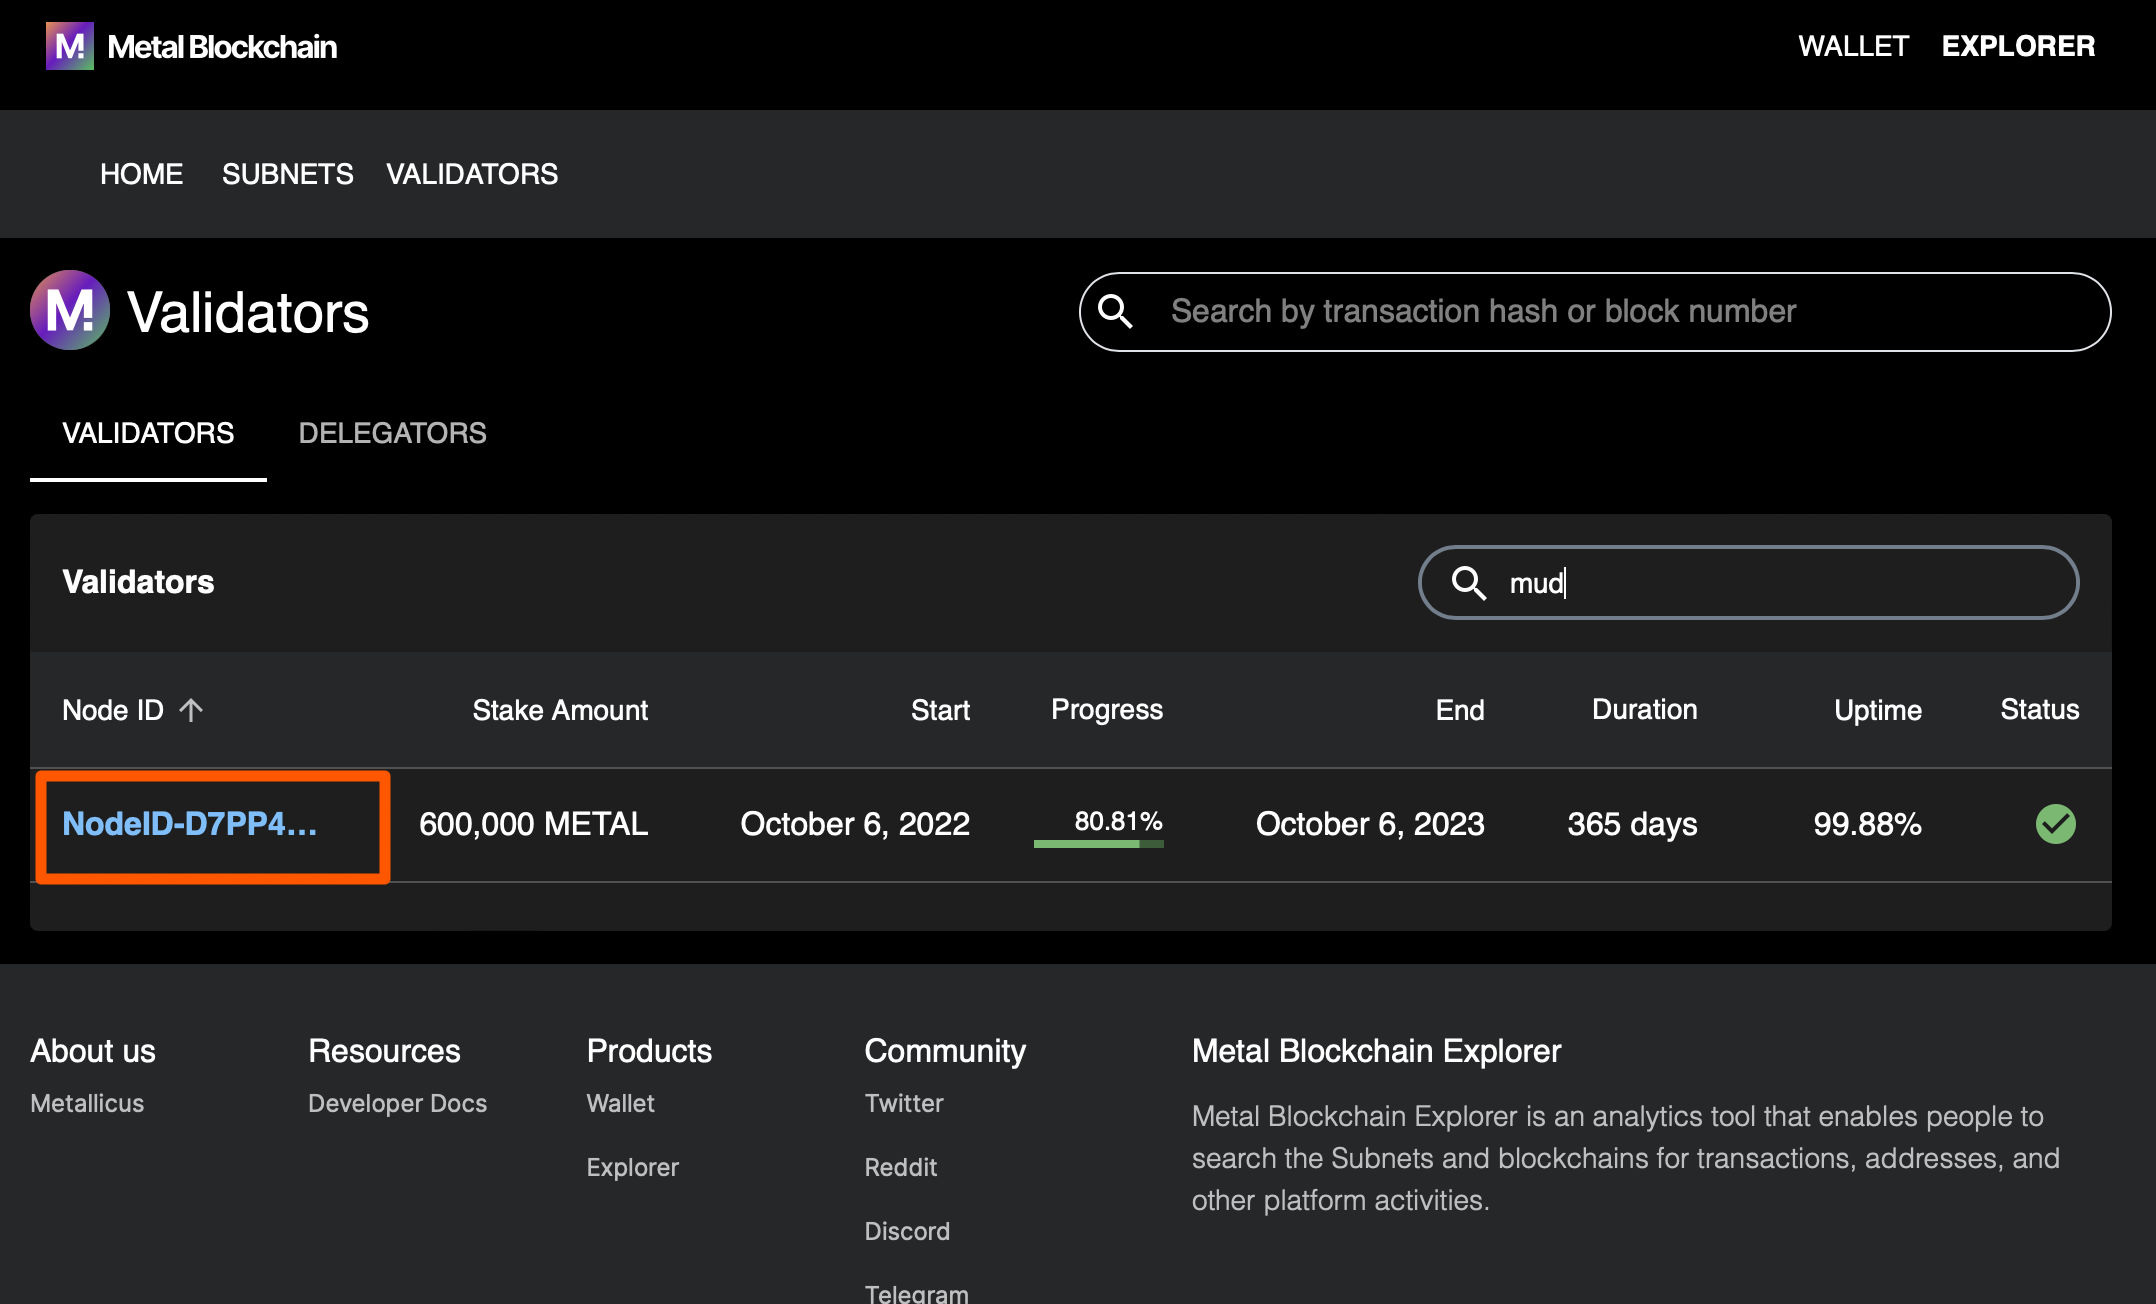
Step 3: Click on your Node-ID link.
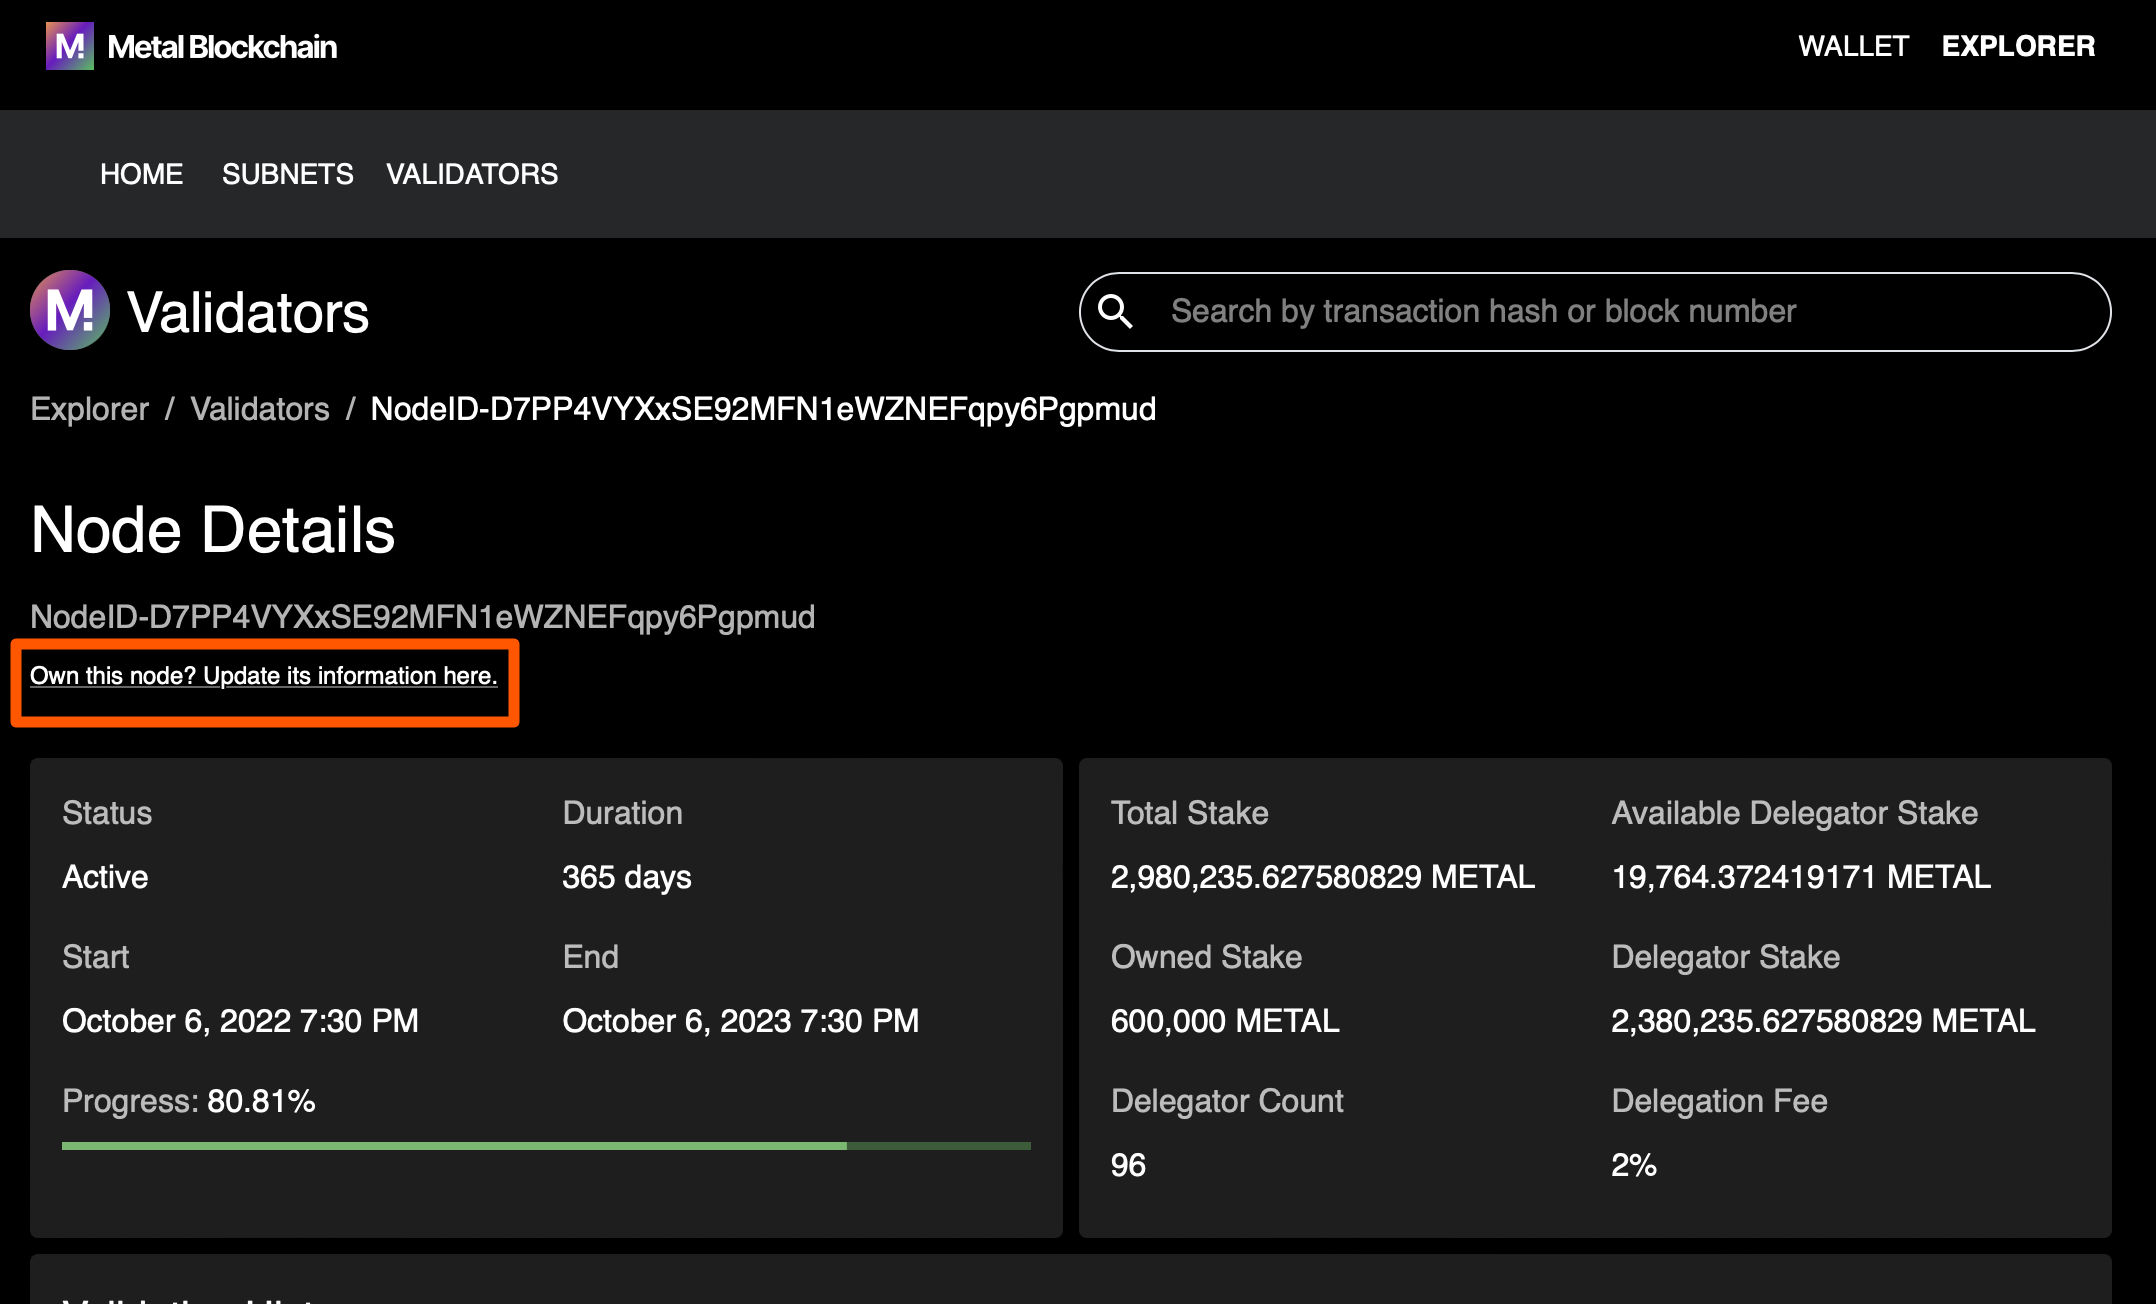
Step 4: Click on the Own this node link.
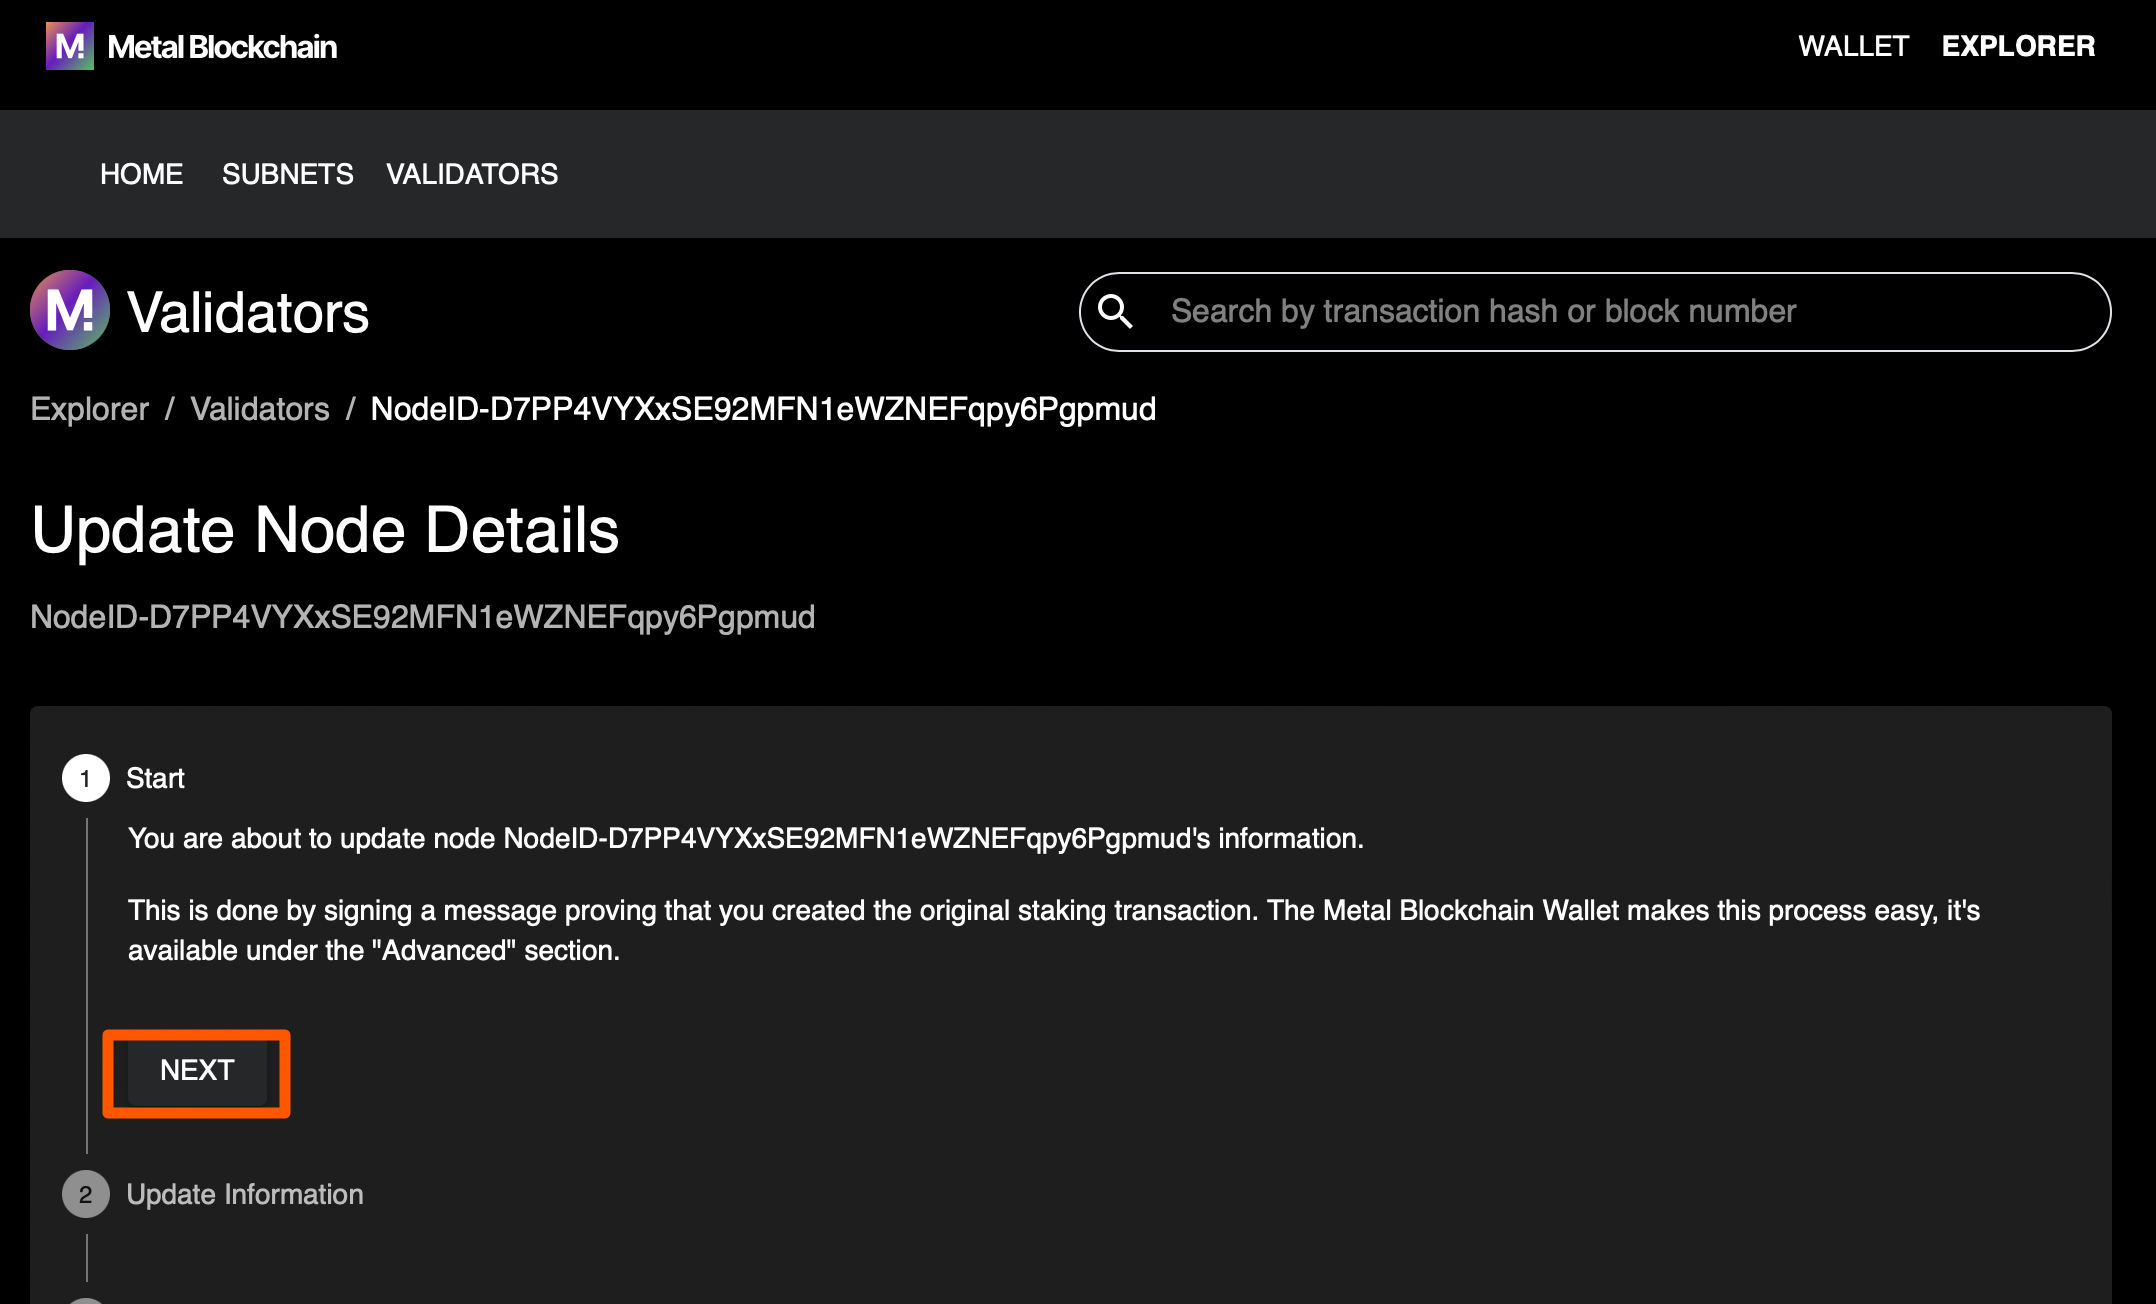
Step 5: Initiate the name update by clicking on the Next button.
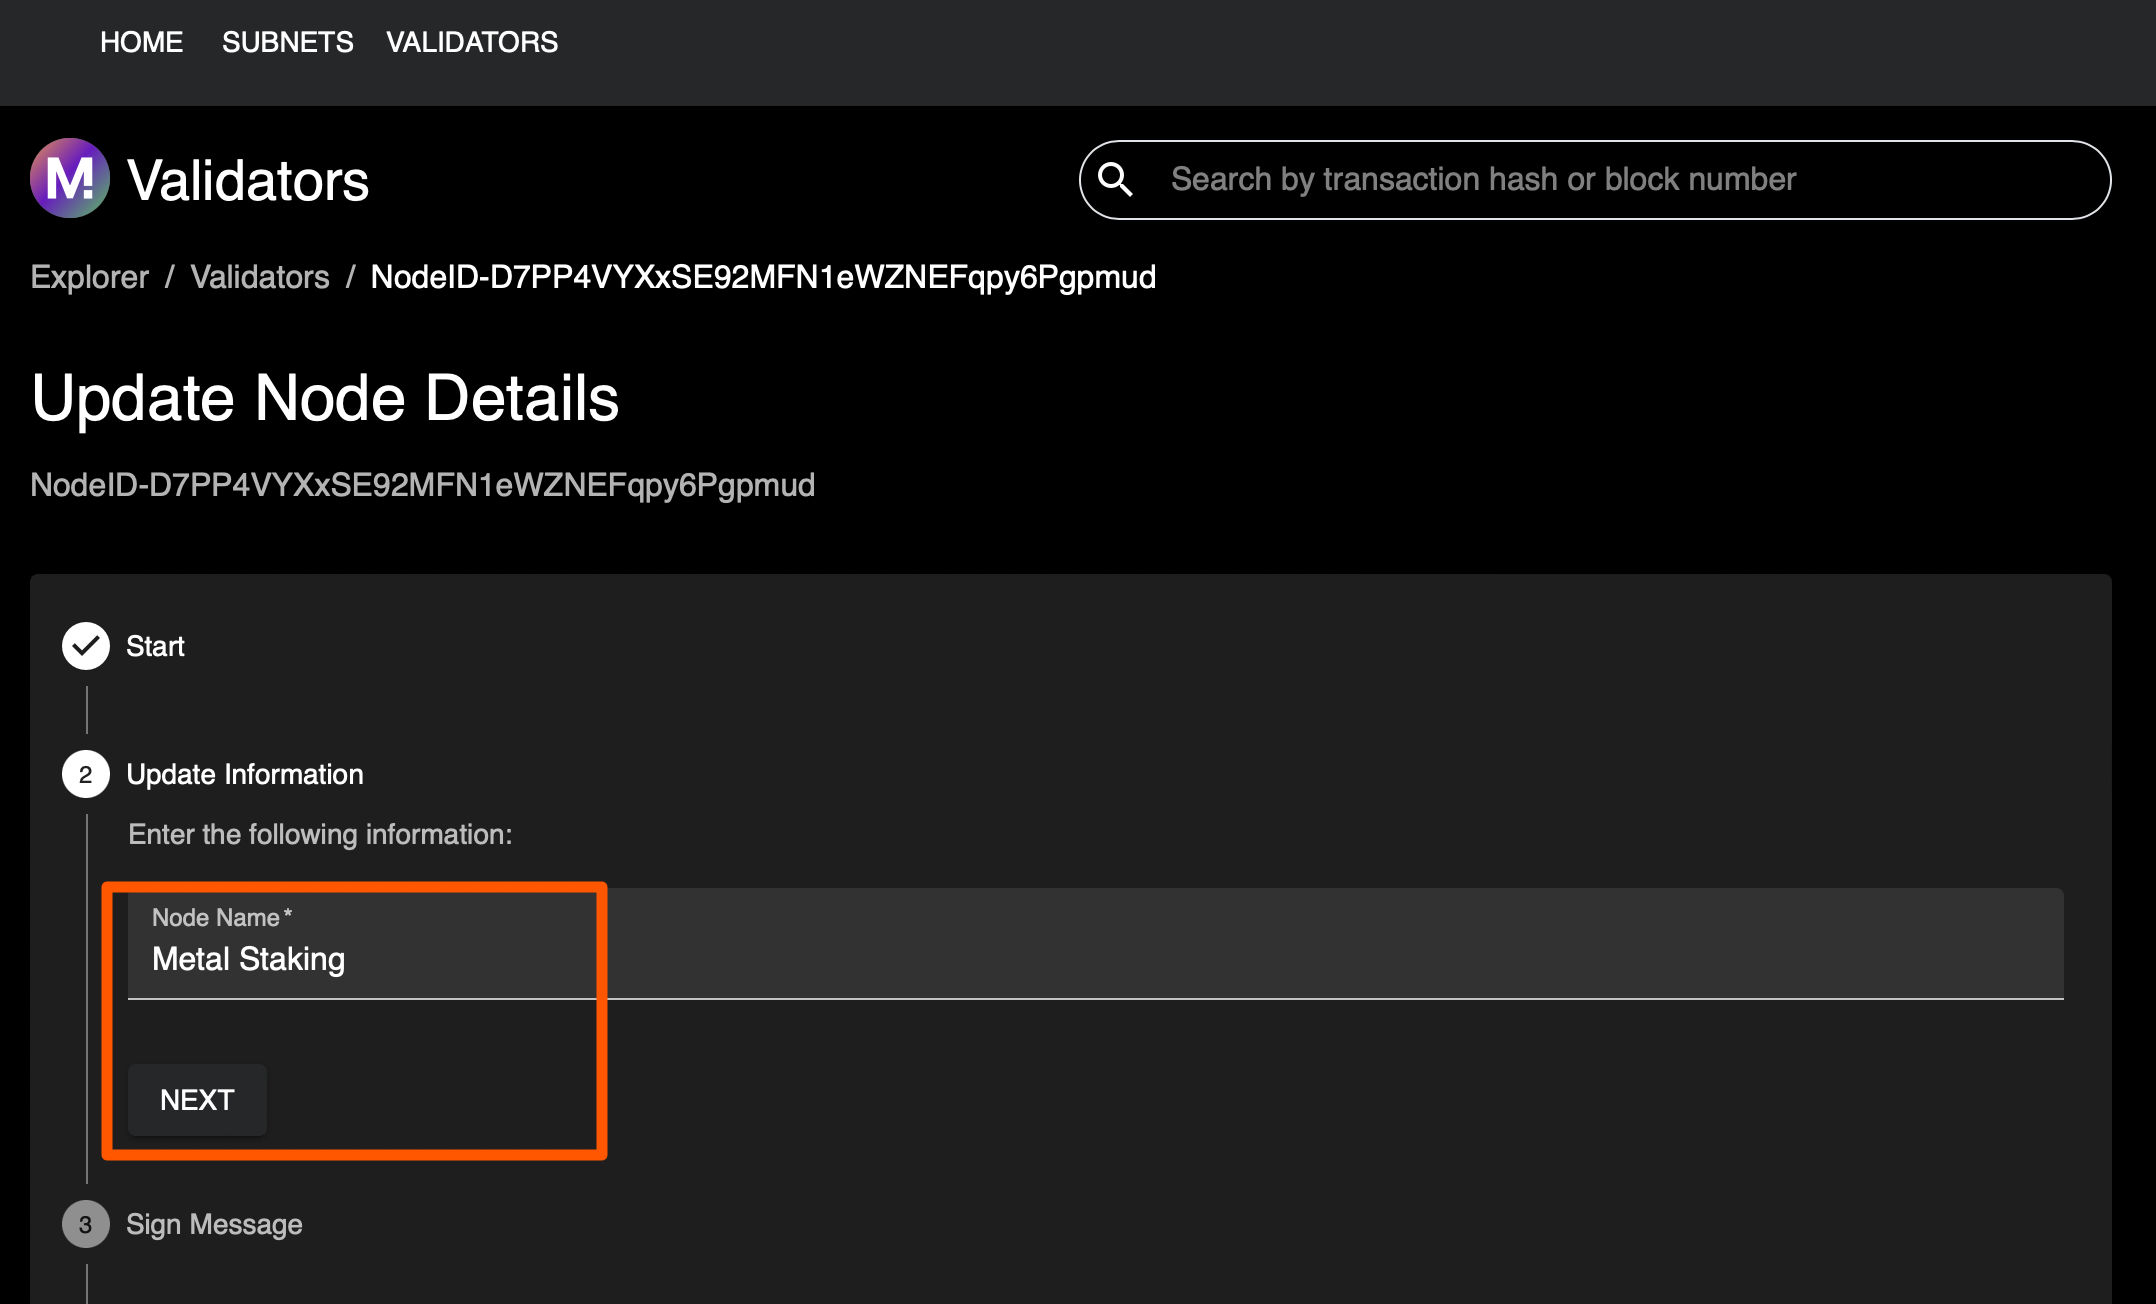
Step 6: Enter your desired node name and click on the Next button.
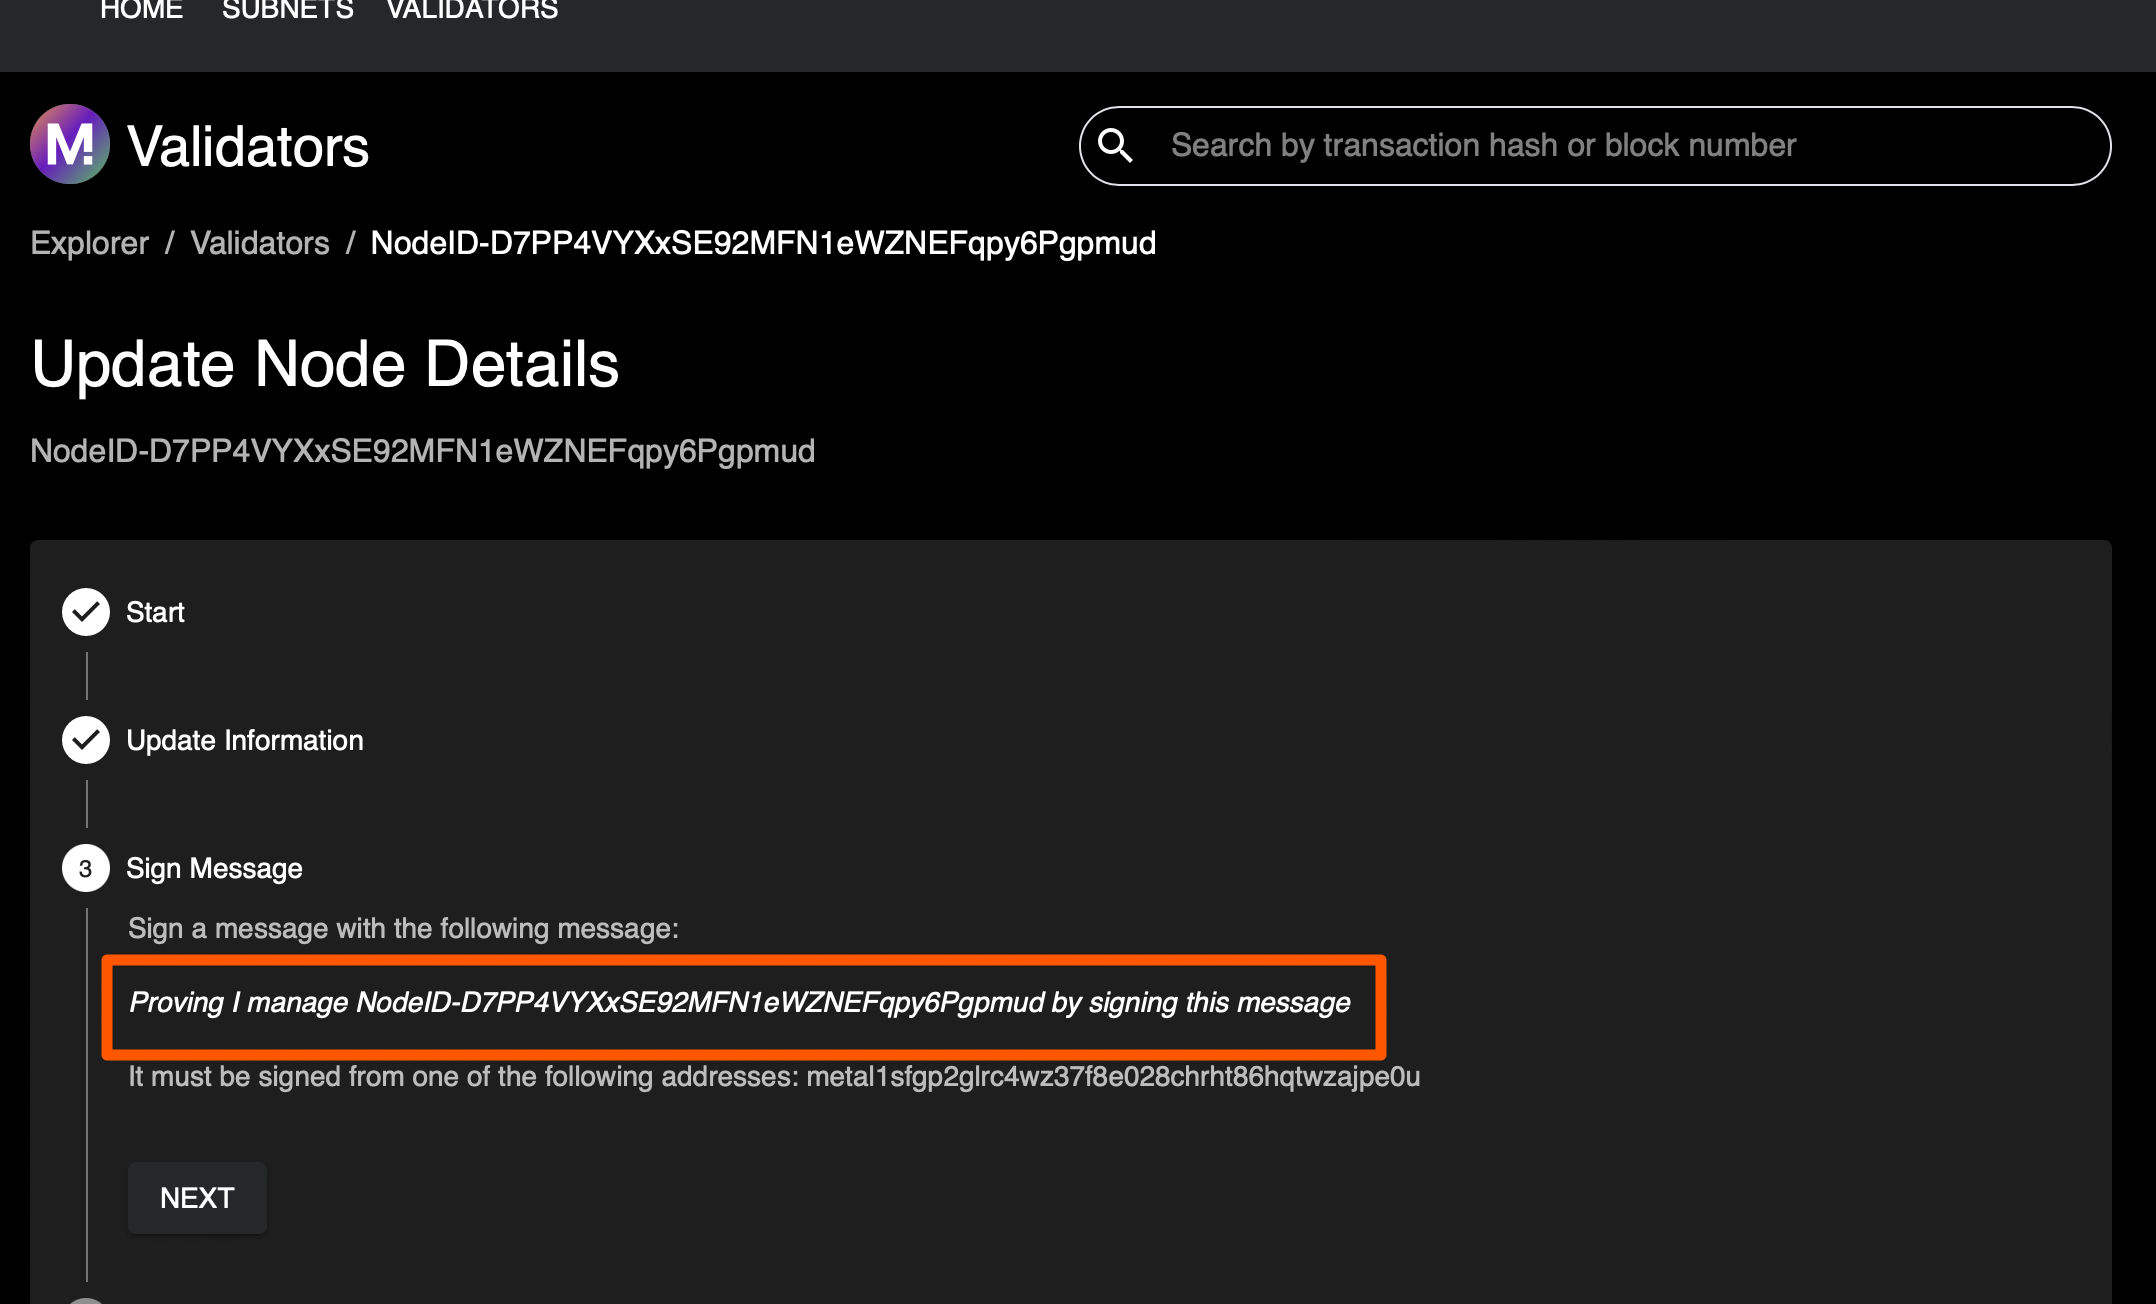
Step 7: Copy the full Proving I manage this Node-ID message.
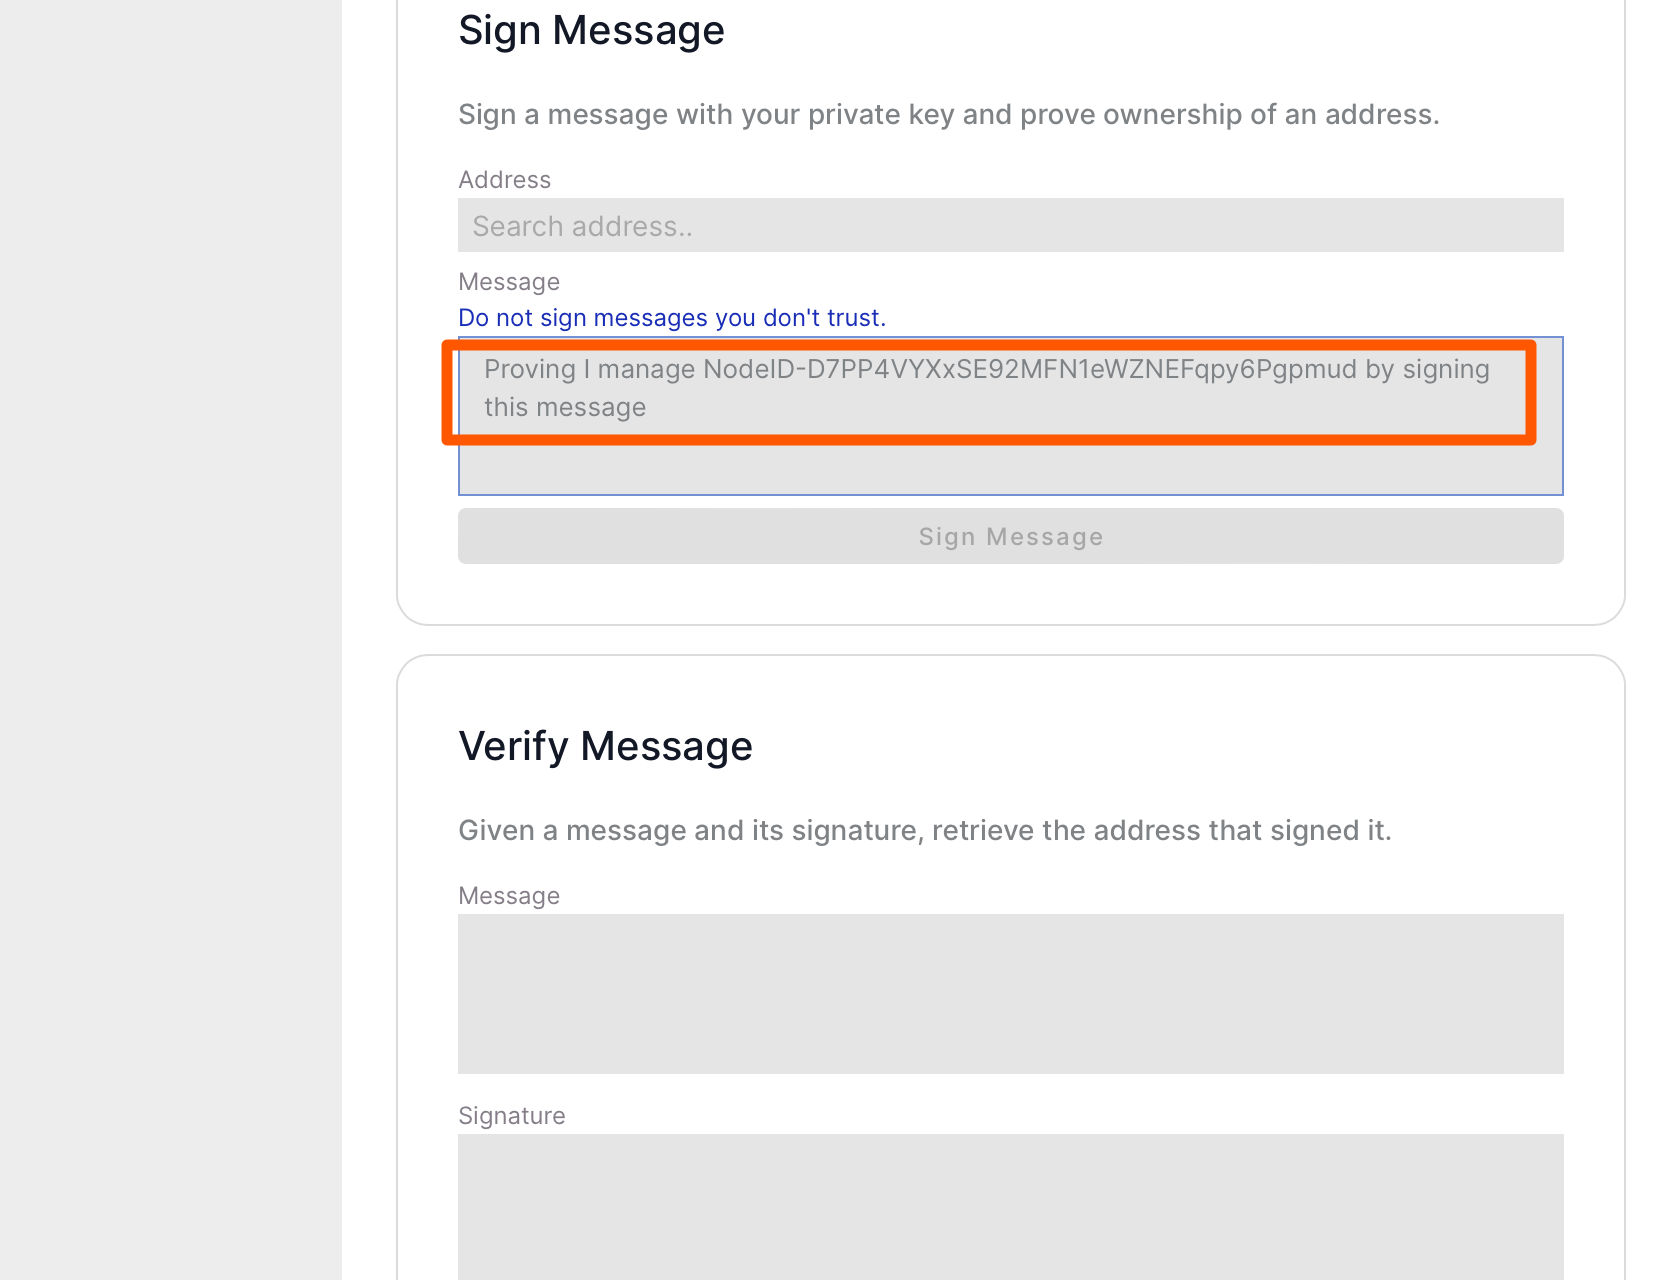
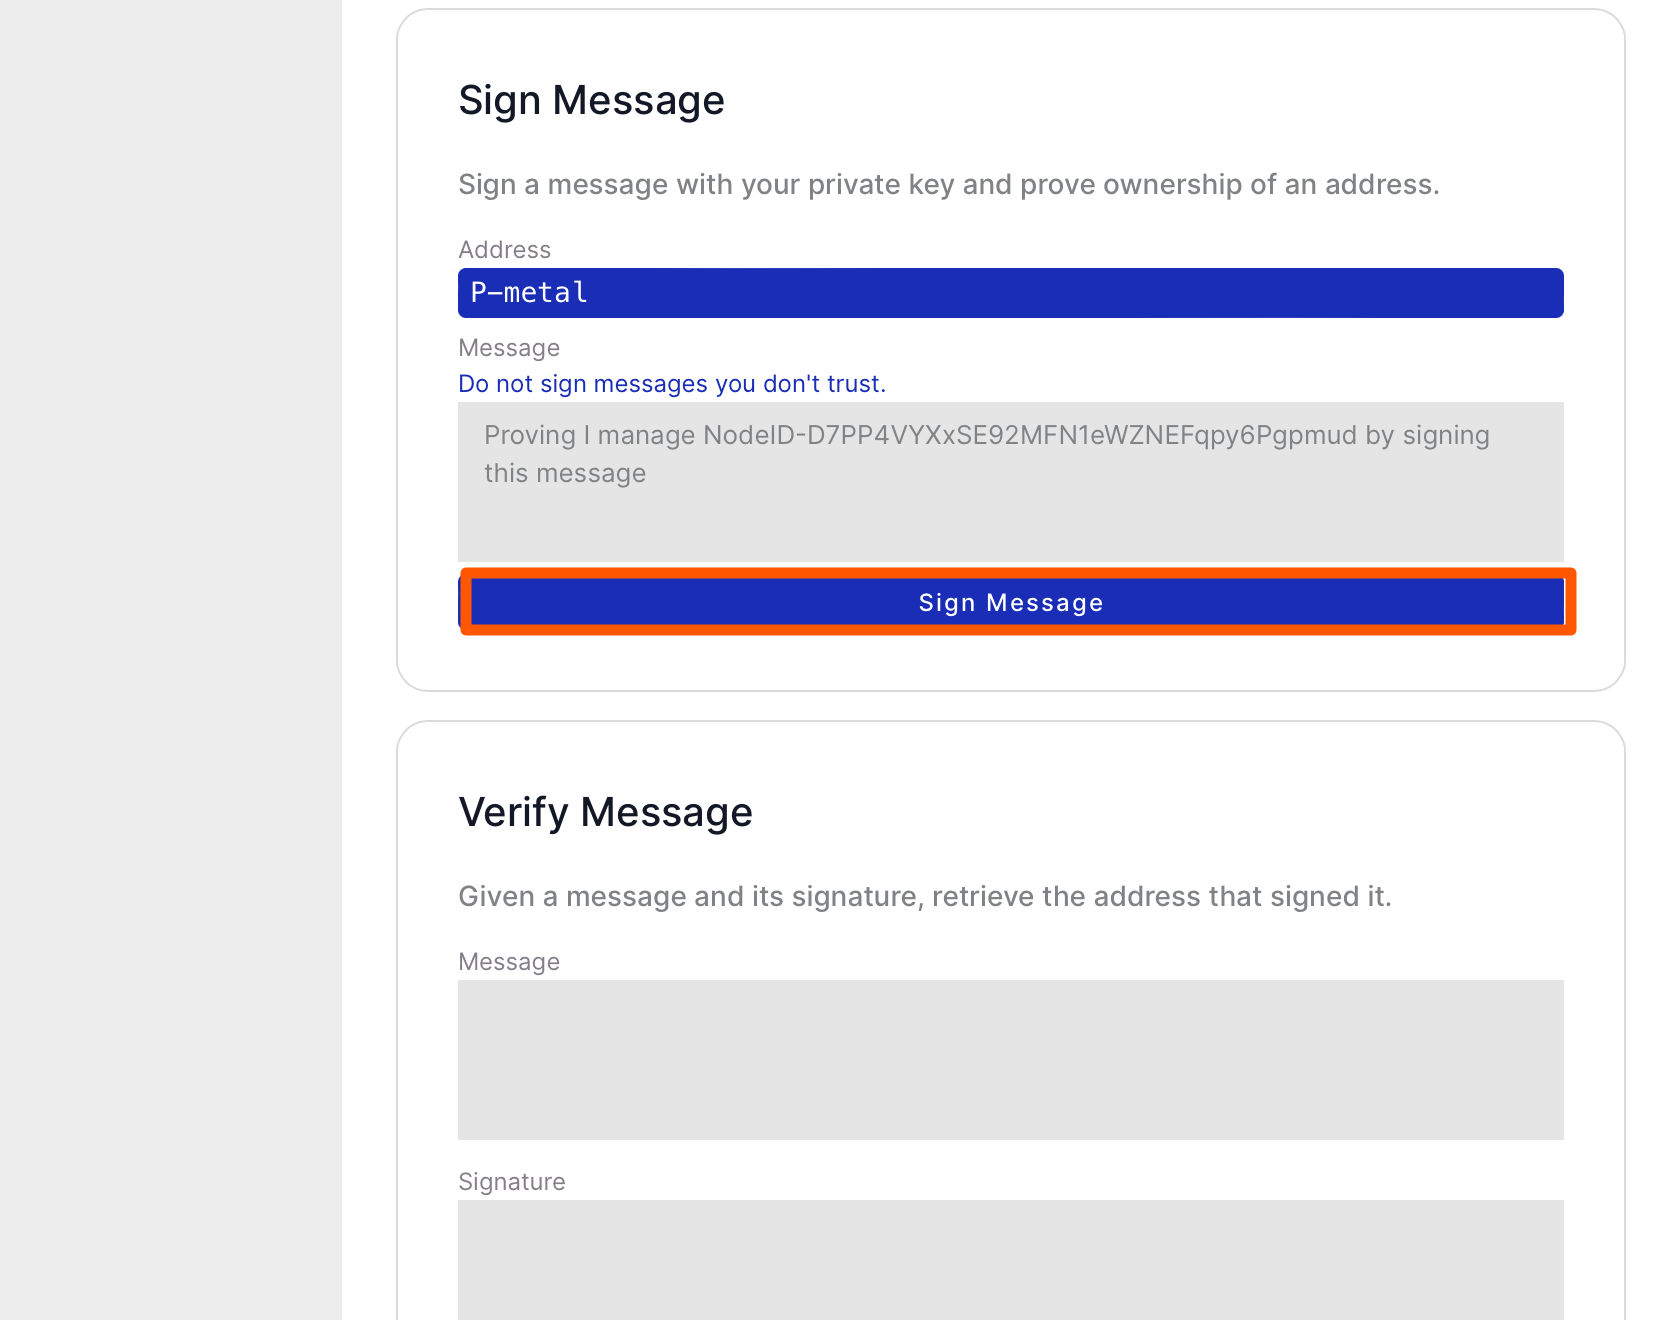
Step 8: Open your Metal Wallet, go the advanced tab and scroll down till you see the Sign Message section and paste the Proving I manage this Node-ID message from the previous step.
Step 9: Go back to the block explorer page and copy the address that is displayed.
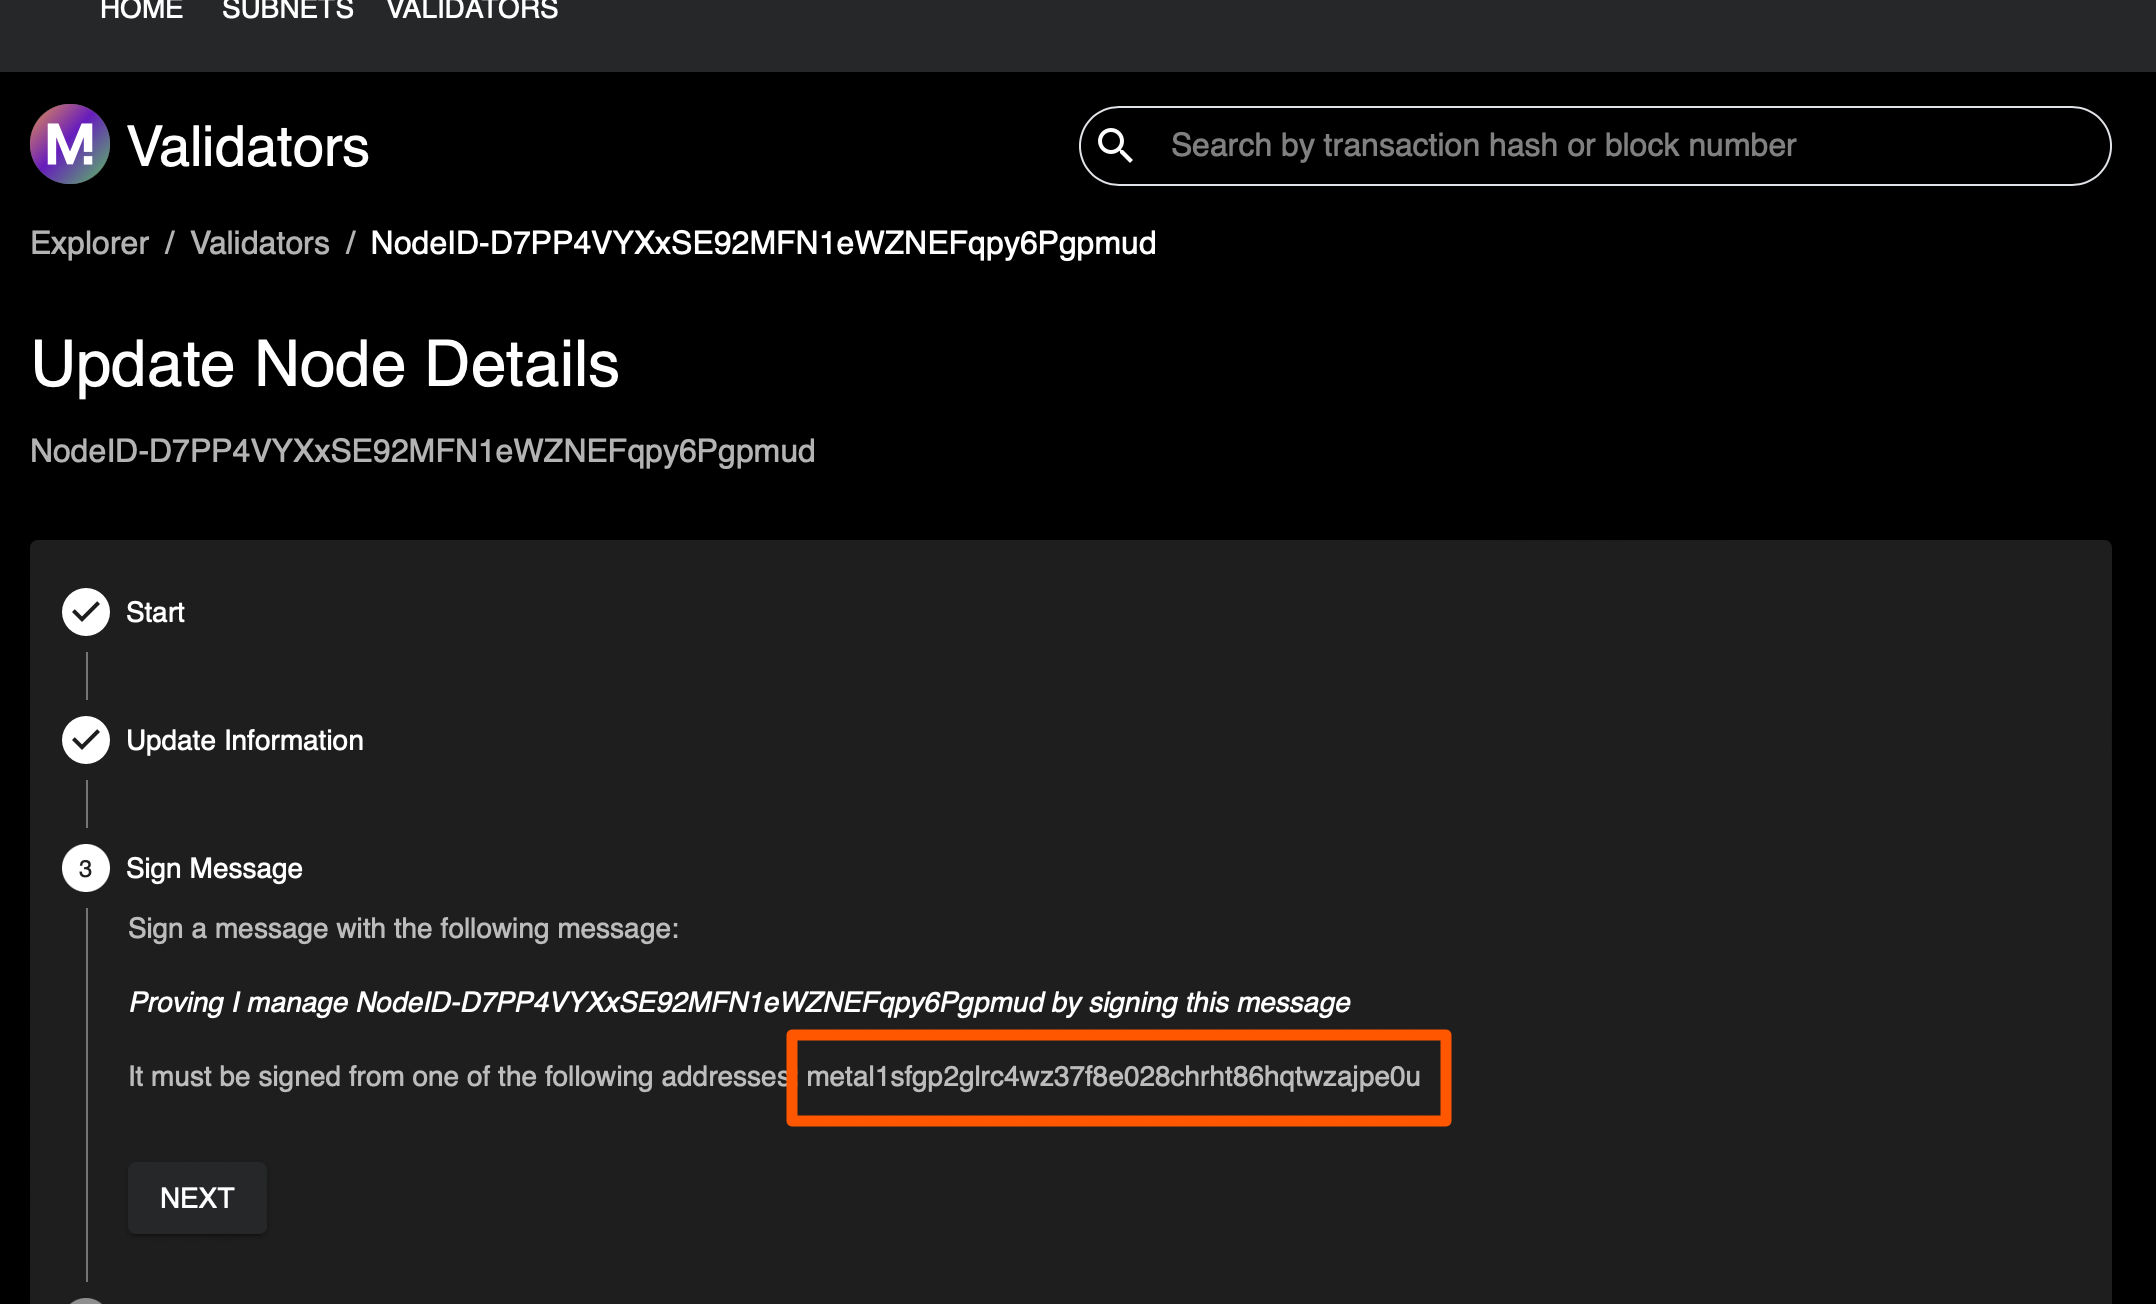
Step 10: Go back to the Metal Wallet and paste the address from the previous step, in the address part. Select the P chain address and click on the Sign button.
Step 11: You will see the signed message in the wallet, copy it and paste it on the validator page, then click the Next button.
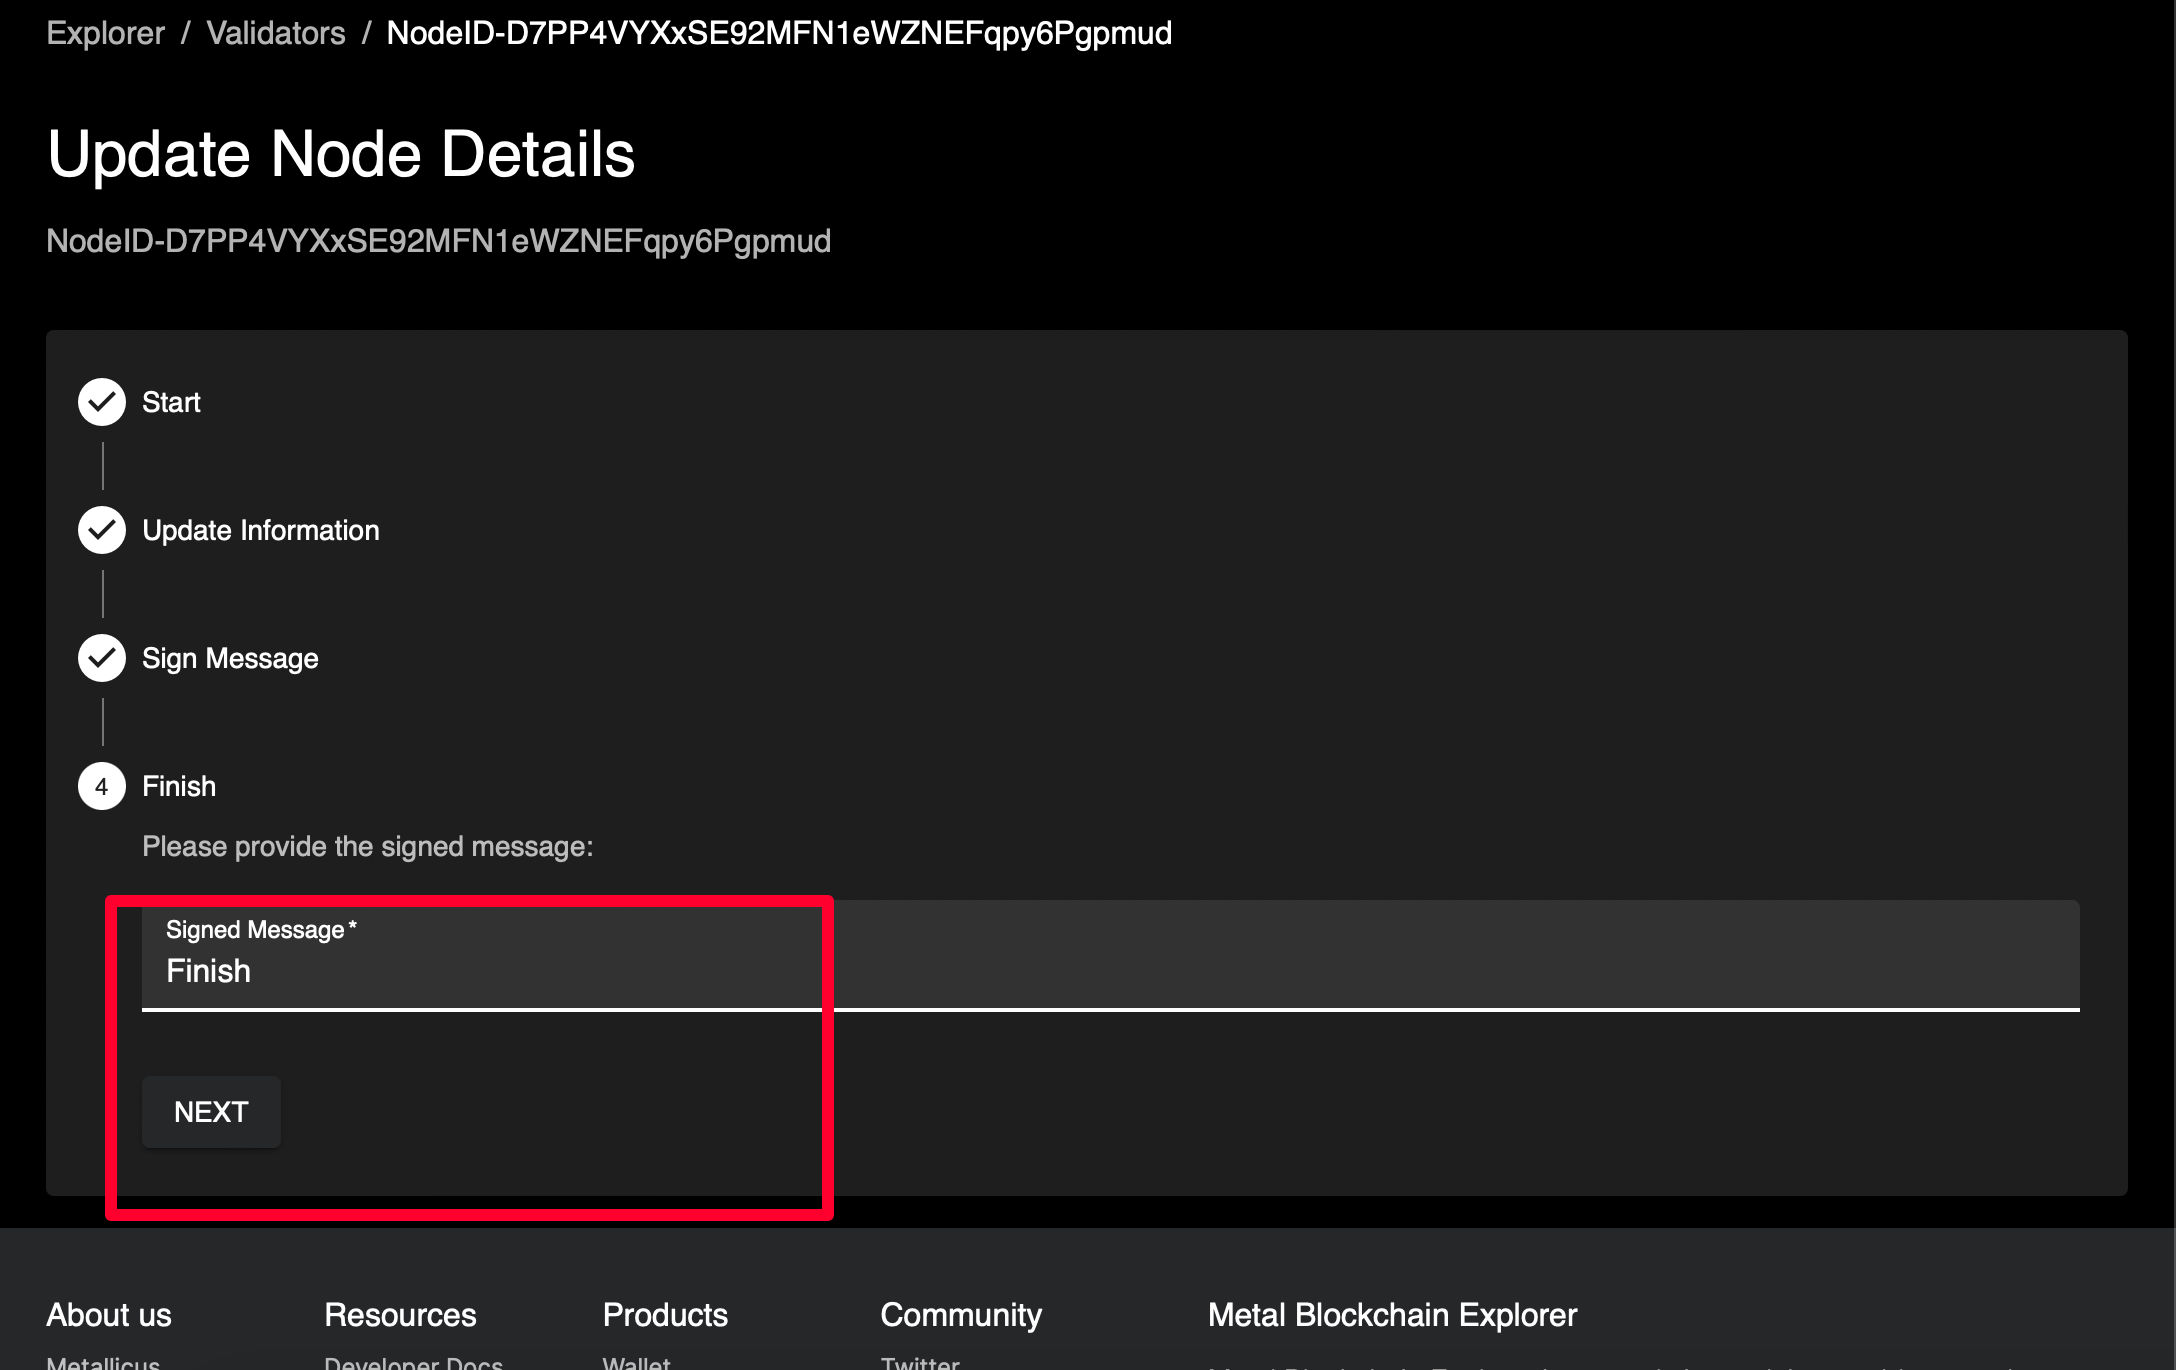
Step 12: Congratulations, your node name has been updated and changes should be reflected shortly!


